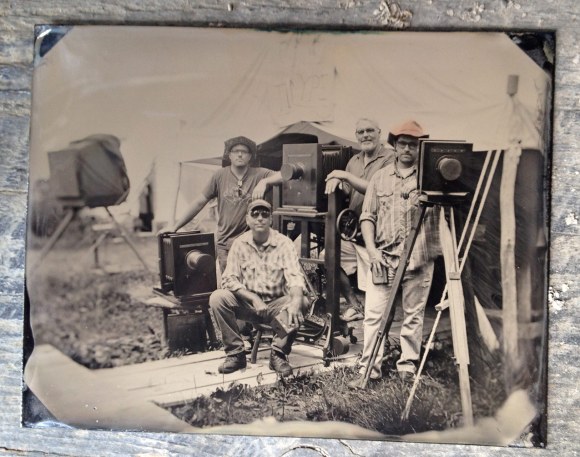
[The group of us at John Coffer’s Farm studying Wet Plate Photography. I’m on the left in the back…]
I’ve been a professional photographer for around 18 years now. In that time, I dedicated 6 wonderful years in the U.S. Navy as a photographer. This is truly where I fell in love with photography as a process and an art. Back then, it was all film. Black & white, color, darkrooms, chemicals..it was crusty and dirty, but it was fun! 🙂 The processes were harder to do, but really satisfying when it was done right. When I was in the darkroom and I saw the image coming up from a print in the developer, it really was magical.
Well, time has marched on and things have gotten simpler and more accessible to the masses. Digital has come of age and photography has become…truly…easy. Now, I’m not saying anything about anyone’s talent, or eye, or anything related to their photography being good or bad, I’m just talking about the process.
We’ve come a long way, but there is something to be said for taking the long road, or the road less travelled. Taking your time and doing things by hand. I was in search of just such a thing when I visited the farm of John Coffer to learn from him the skills and techniques needed to shoot Wet Plate successfully.
Instagram has proven to society that what it wants is what we once had…what once was. Borders on images, light leaks, scratches on film, different color temperatures, square formats, polaroids…all of it. We, as a society, are eating it up. What we are trying to get is what we once had, but easier, simpler, NOW. We are living in the very spoiled age of instant gratification. Anything we want is at our fingertips, to a point that if something takes too much time, it gets discarded and a faster, easier route is looked for.
I found out about wet plate photography and was completely enamored with it.
It’s name, Wet Plate Photography, comes from the fact that you have to put a wet chemical, collodion, on a surface(glass, tin, aluminum). Then, you have around 10 minutes to shoot and develop that plate(time depends on the heat/environment) before it dries up. After it dries up, you don’t get an image. So it’s challenging in the field, but very do-able. The final result is so unlike any other form of photography. It’s beautiful.
Each glass negative, ambrotype, or Tintype made takes around 30 minutes or more to make from start to finish. It slows you down and makes you think about what you’re shooting.
My trip to John Coffer’s farm in the woods was born out of a desire to get back some of the simple joy it is to see the image come up again in front of me, get my hands dirty, and create something from nothing. I didn’t realize I missed it until I started buying polaroid and film again. The analog nature of it was giving me something that digital just didn’t. I didn’t want it, “simple”, anymore. I wanted to put the magic back into photography.
So what this post covers is my journey to John’s farm and some of the experiences and photos taken during my time taking his class. What I can say unequivocally is that is was a profoundly eye opening experience and one that I would like to share.
This is just the first step, the first experience, in what will be an ongoing exploration of this early art of photography.
It all started with a long drive, just me and Delilah(My Zipcar) 😉
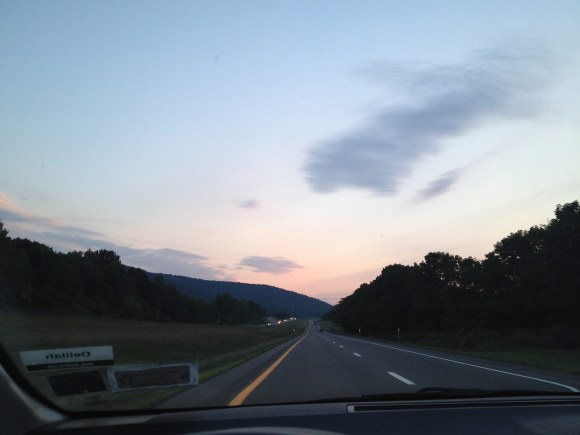 Definitely one of the things I miss living in the city…trees, mountains, fresh air, wide open expanses.
 At the lodge now…loving the sky.
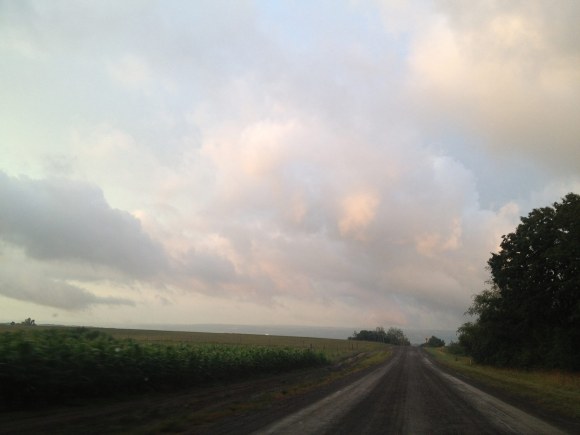 I‘m off to Coffer’s now. You know you’re getting close when you hit the dirt roads. He’s a little bit off the beaten path.
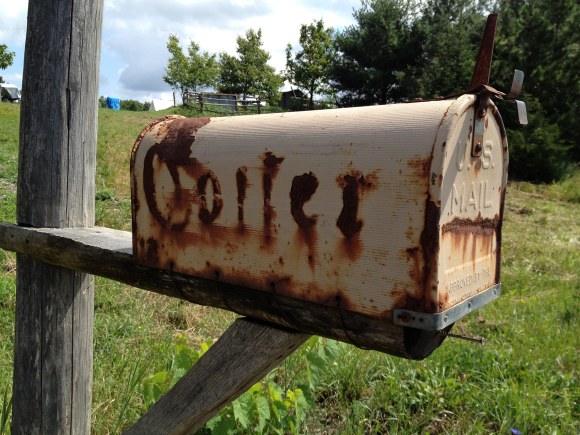 We have arrived. This is also John’s only form of communication. He doesn’t have a phone and he’s proud of it. U.S. Mail all the way… 😉
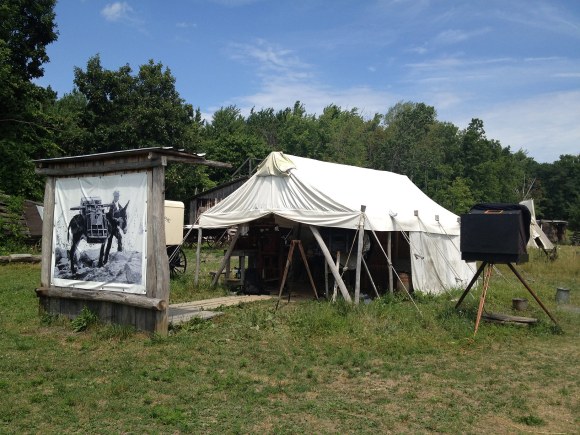 So This is where it all happens. The tent in the middle has a darkroom, a sink, and is filled with all kinds of historical cameras, lenses, and old tintypes. This is where he did most of the teaching, although we shot all over the farm.
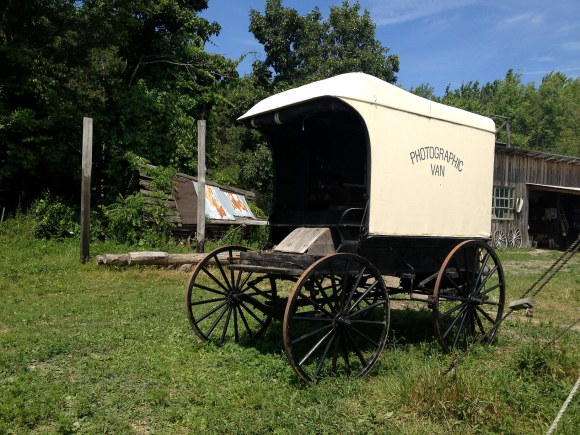
This is what John rode around in for 11 years pulled by Oxen at 2 miles an hour. He was recreating the life of a 19th century photographer. It’s got a full darkroom inside. If this thing could talk…
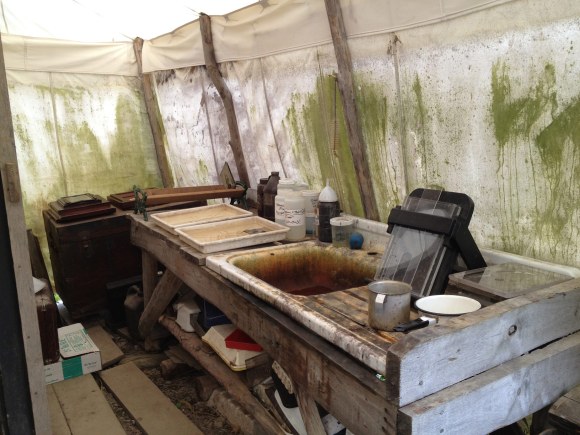 The deep sink for washing and fixing the plates.
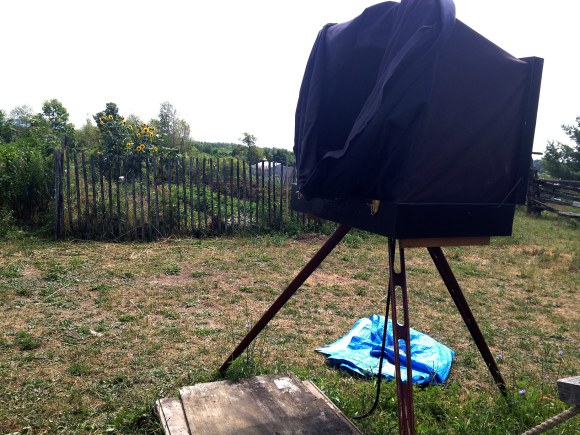
This is called a, “Dark Box” and is what you use in the field to develop your plates. It’s basically a portable darkroom. I need to build one that can fit in the back of an SUV so I can take this show on the road. 🙂
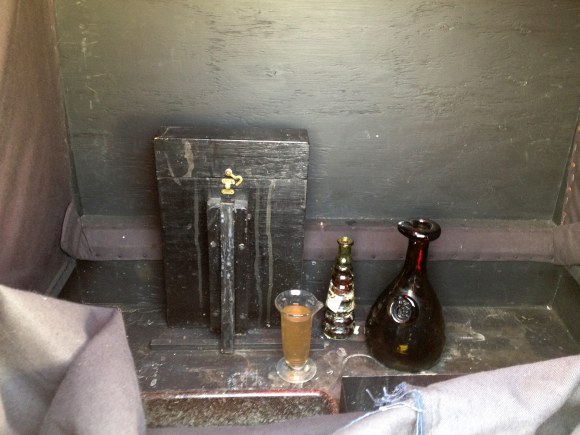 These are all the chemicals you need to do wet plate. On the left, in the box is your Silver Nitrate bath. The yellow liquid is your developer, then the little bottle is Collodion, and lastly, a jug of water to pour on your print to stop developement.
Here’s a few shots of John’s home and some shots of the farm…
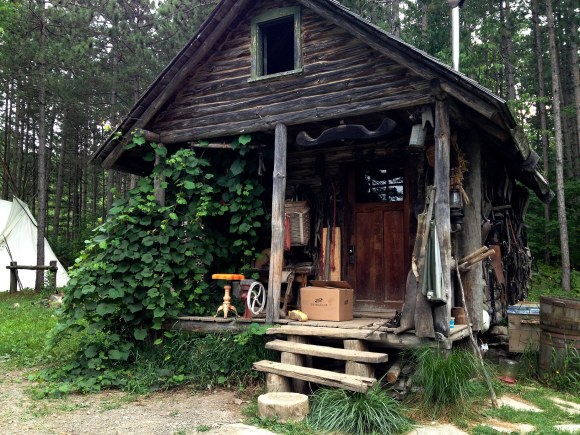
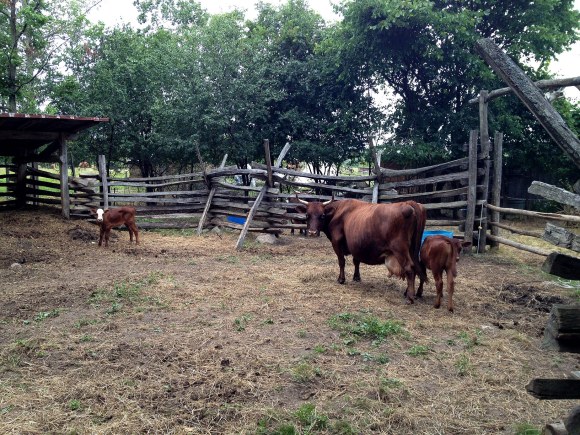
This is John fixing the plate he shot of the class.
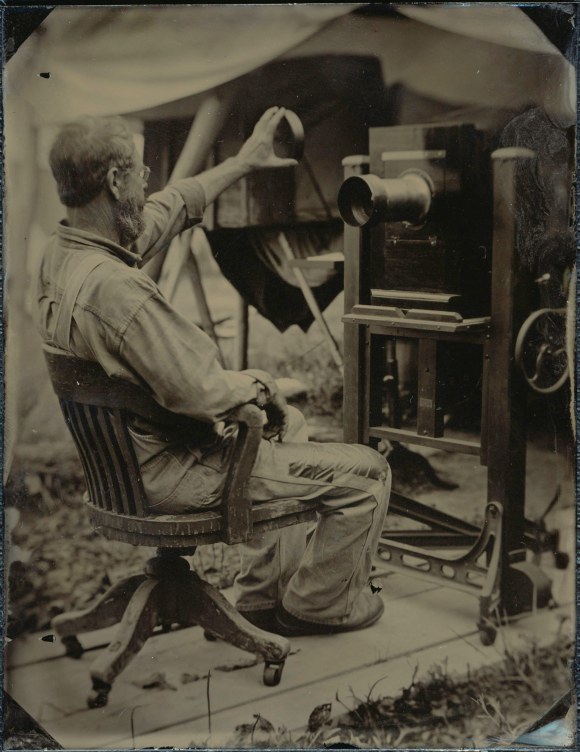
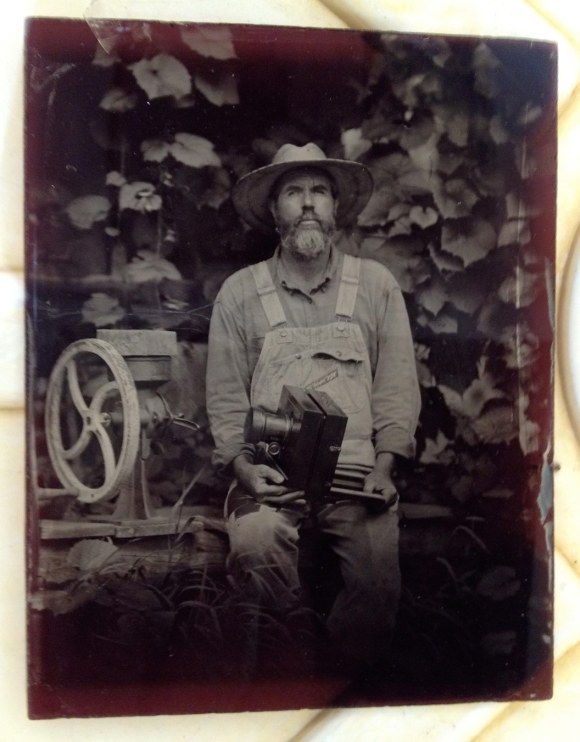
This is the first portrait I did of John. It’s also my first plate. We started out small as it’s easier to get a handle on how to put the collodion on the plate that way. It’s a 4×5 tintype. You can click any of the images in this post to see them bigger.
This is me fixing the second plate I did of John. It was shot on Ruby Glass.
 This is the image in the above video that I shot of John. The Ruby Glass prior to me shooting it(below).
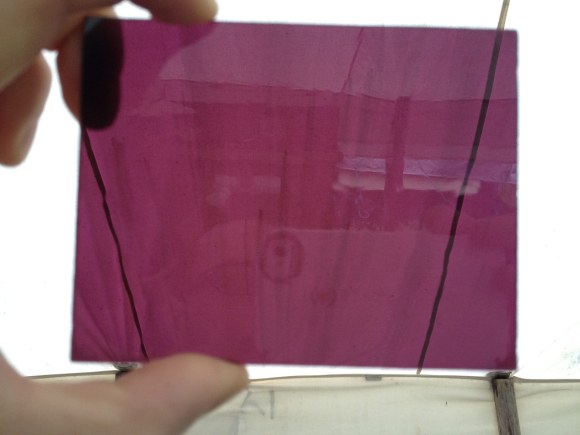
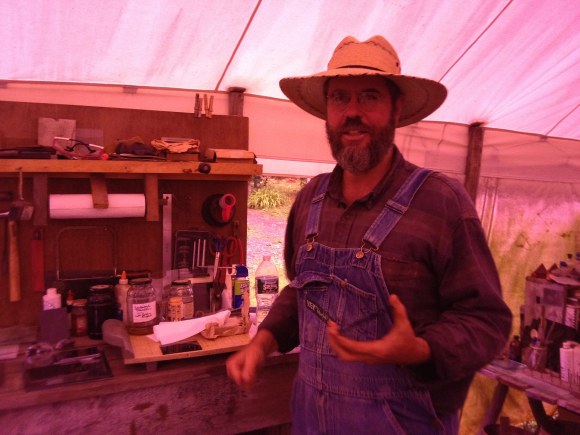
John, shot through the ruby glass filter…teaching away.
In general, the farm is awesome. As I live in New York City, I need my nature fix to get me balanced. He’s got many animals on the farm. Horses, a donkey, cows, bulls, a cat or two…and lots of chickens. I have come to appreciate how cool chickens are during my time at John’s. They will just randomly follow you around the farm. They’ve just got one thing on their mind…food.
I found out they like Doritos, donuts, pretty much anything that we consider food, they’re good with.
With that in mind, for one of my plates, I decided to dedicate one to, “The Chicken Whisperer”. See below. The chicken actually stood pretty still for this…lol.
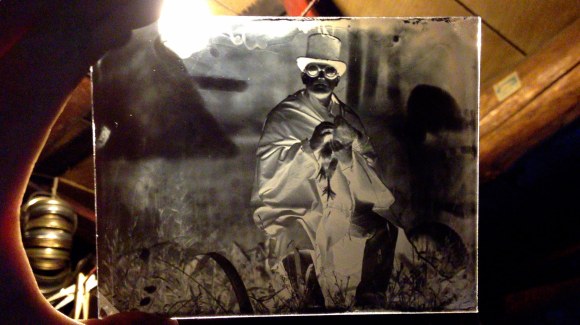
This is the glass plate negative(clear glass) that I shot and the albumen print made from that glass plate(below).
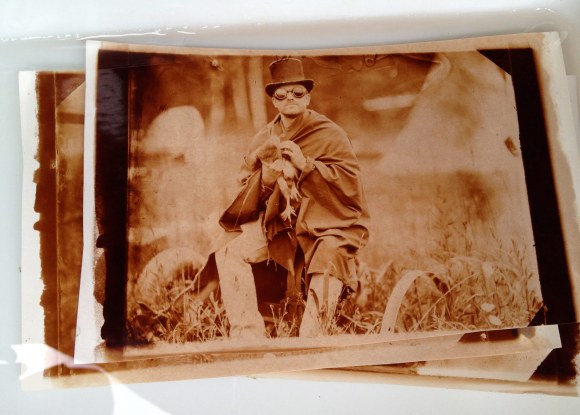
Below is the albumen print, “cooking” in the sun. Very cool process to create your own photographic paper from egg whites(albumen) and silver nitrate.
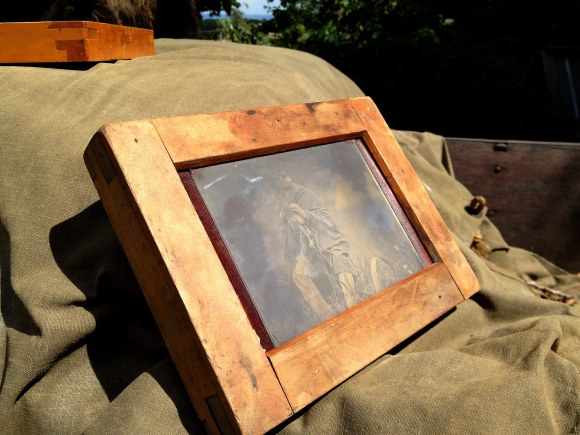
Here’s the “Chicken Whisperer” getting fixed. I had thought I was shooting vertically, but I had put the plexi holder in horizontally. Fortunately, I had framed him up in the center and still got a good image…lol.
So after lots of instruction, we were off shooting what we wanted to on the farm. I set up a few shots in the woods. This is the first time I’m getting to use the camera I bought. It’s an Anthony Climax Imperial Camera, 8×10 camera. As I have not gotten a tripod for the camera, I used one of John’s wooden benches to get some lower angle shots.
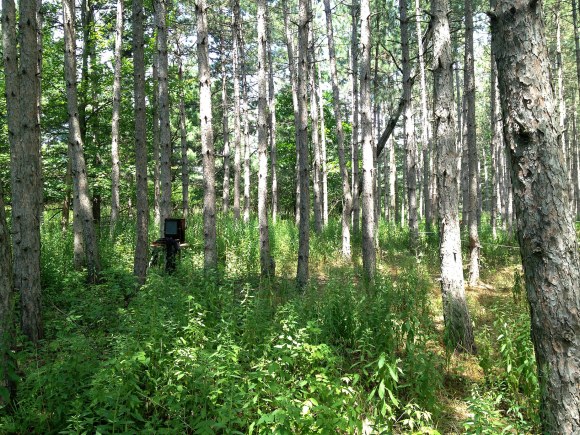
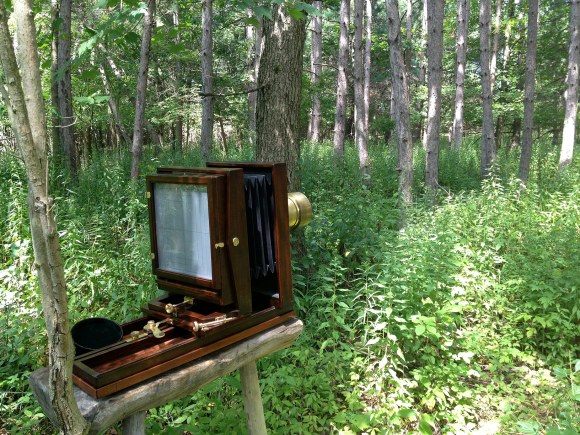
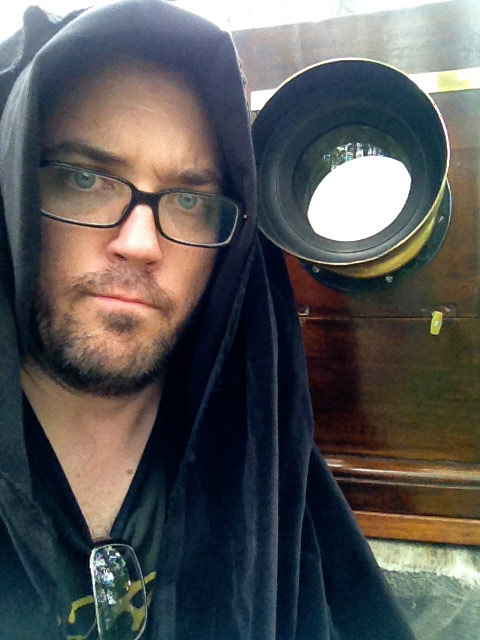 Getting my Luke Skywalker in the swamp moment.
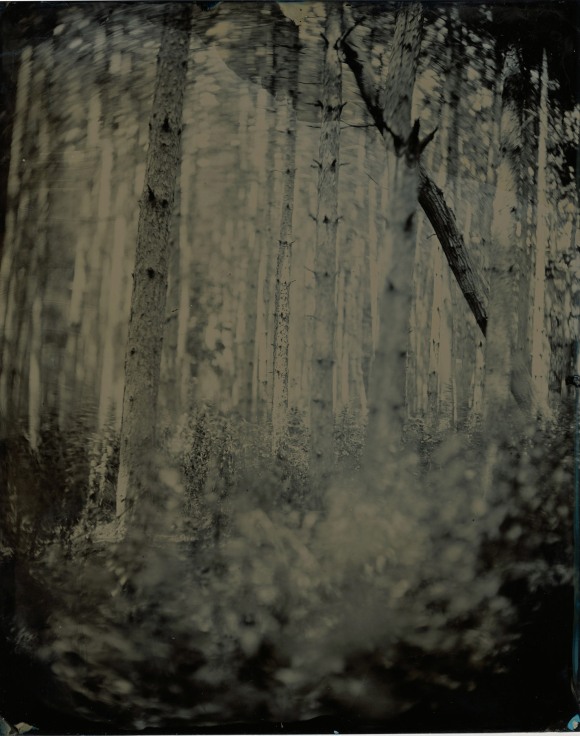
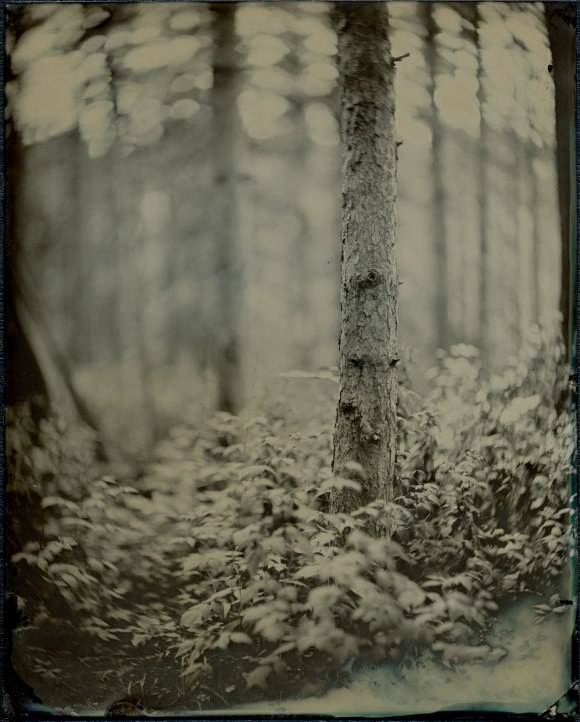 Another little solarization in the bottom right hand corner. You can see the nice swirly bokeh in the top of the shot. That comes from the Petzval lens design in the old brass lenses. This lens is a Voightlander. I love it as I plan on doing portraits with it and it has a very short depth of field when the bellows is extended.
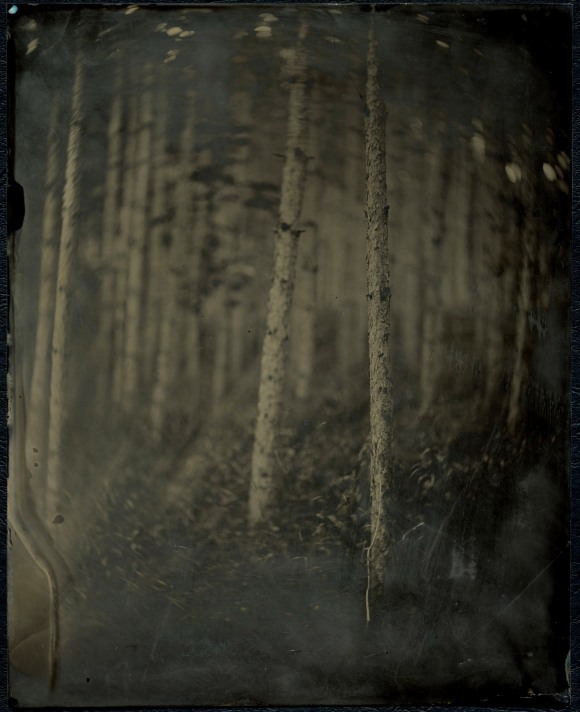
So John was telling me, when I asked about putting the camera back into the bull’s pasture to be careful as they like to, “investigate” things as a bull had knocked his camera over once before. Of course, I didn’t listen. Now, I had to go get the bench, place it, then go back and get the camera. This is what I saw when I got back. They were “investigating” the bench. It’s a good thing I had not brought the camera out there yet. 😉
My last two plates I shot at the farm were of John and his girlfriend Ann. I’m very excited by these as I’m looking to do more portraits via glass plate negatives and tintypes.
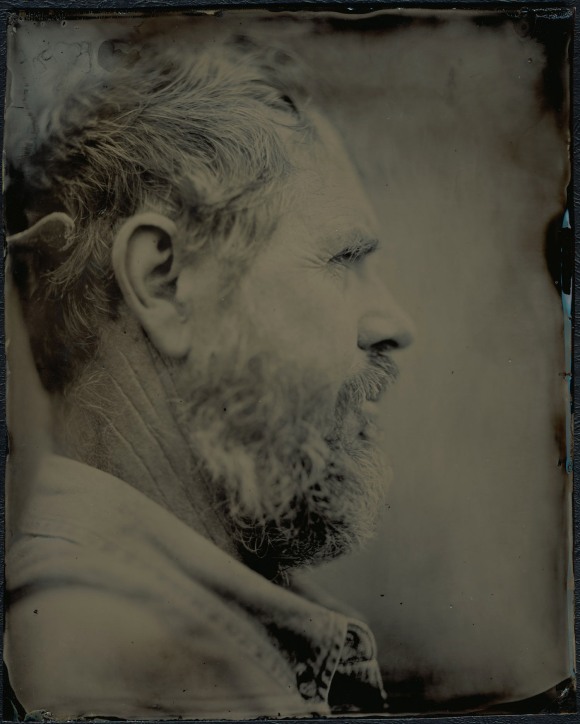
As we were in his house learning to do albumen prints, I saw him from the side and thought a profile photo would be nice. You can see the head brace in the shot as well. I think the exposure here was 4 seconds in open shade.
And one of Ann…
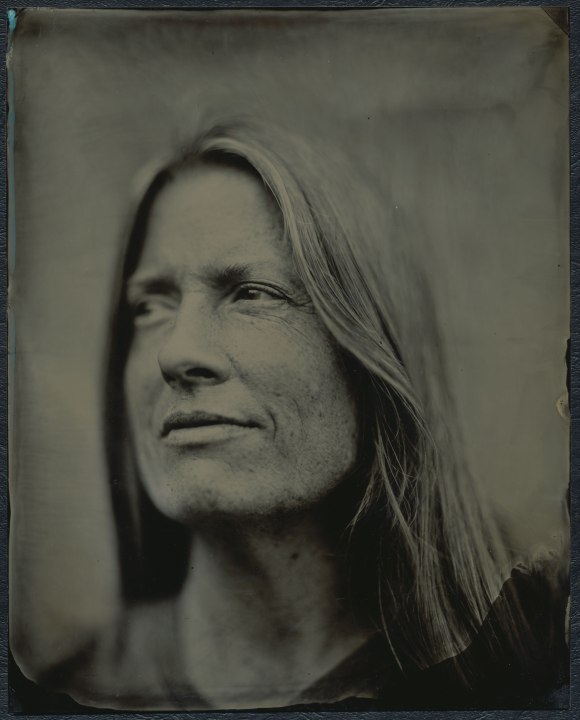
I love both of these. Ann has such character. The beauty is in the little details, and also in the mistakes. The top left hand corner of John’s did not get processed very well, so when I took it out of the dark box, the sun hit it, then I fixed it, solarizing the corner a little. The blue line on the right is where the collodion was a little thick and did not quite develop. So, technically, there are some issues, but that’s also part of the fun. You never really know how it’s going to turn out until you develop and fix it.
Finally, we get to the Mammoth Plates. John has a 20×24 camera that we each got to shoot. It was much more difficult to prepare, shoot and develop. I was wanting to go big, but I think I’ll be shooting 8×10 for a while. There’s plenty of time for that later.
This is me pouring collodion onto the mammoth with John’s help. Not so easy. 😉
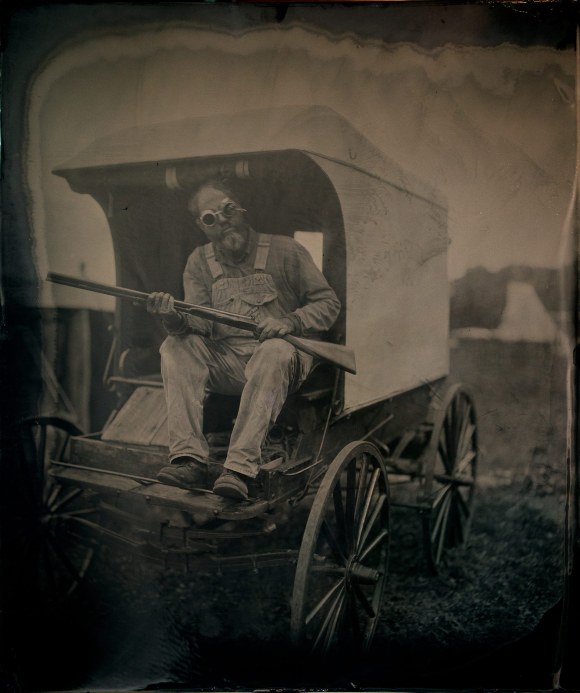
Here’s my 20″ x 24″ Mammoth plate image. So I was going for a little, “Cowboys and Aliens” here. John was a good sport to put on the glasses, grab one of his vintage guns, and get into the act. 😉
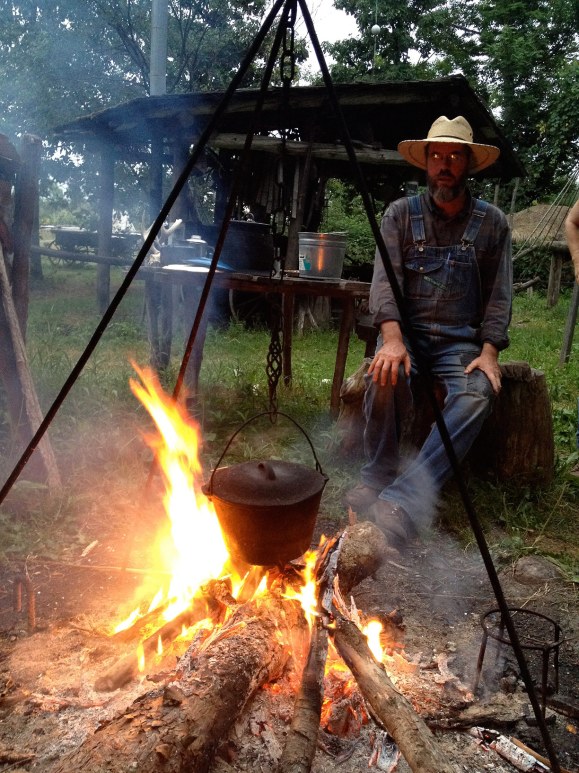
At the end of the day, we all gathered around the fire and cooked up some brats, had a beer, and relaxed. It’s a lot of work carrying around those cameras, tripod(or bench in my case), setting up the shot, getting the plates poured…going to shoot it…going back to develop it. Finding out it’s not right, and doing it all over again. Then finally, Fixing it, washing it, drying it, and varnishing it. It really is great fun and I’m already planning my future shoots.
Thanks for reading. I hope you enjoyed this look into my first experience shooting Wet Plate Photography.
Now where’s that DSLR of mine…gotta go make some money to pay for all the chemistry and materials now! 😉


 I
I


